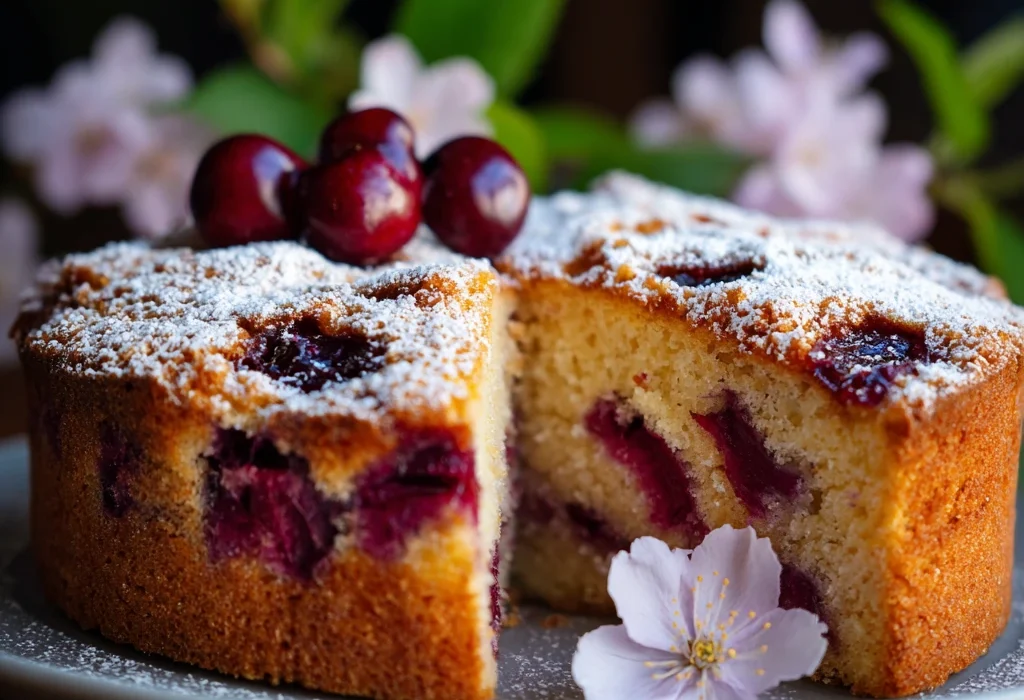
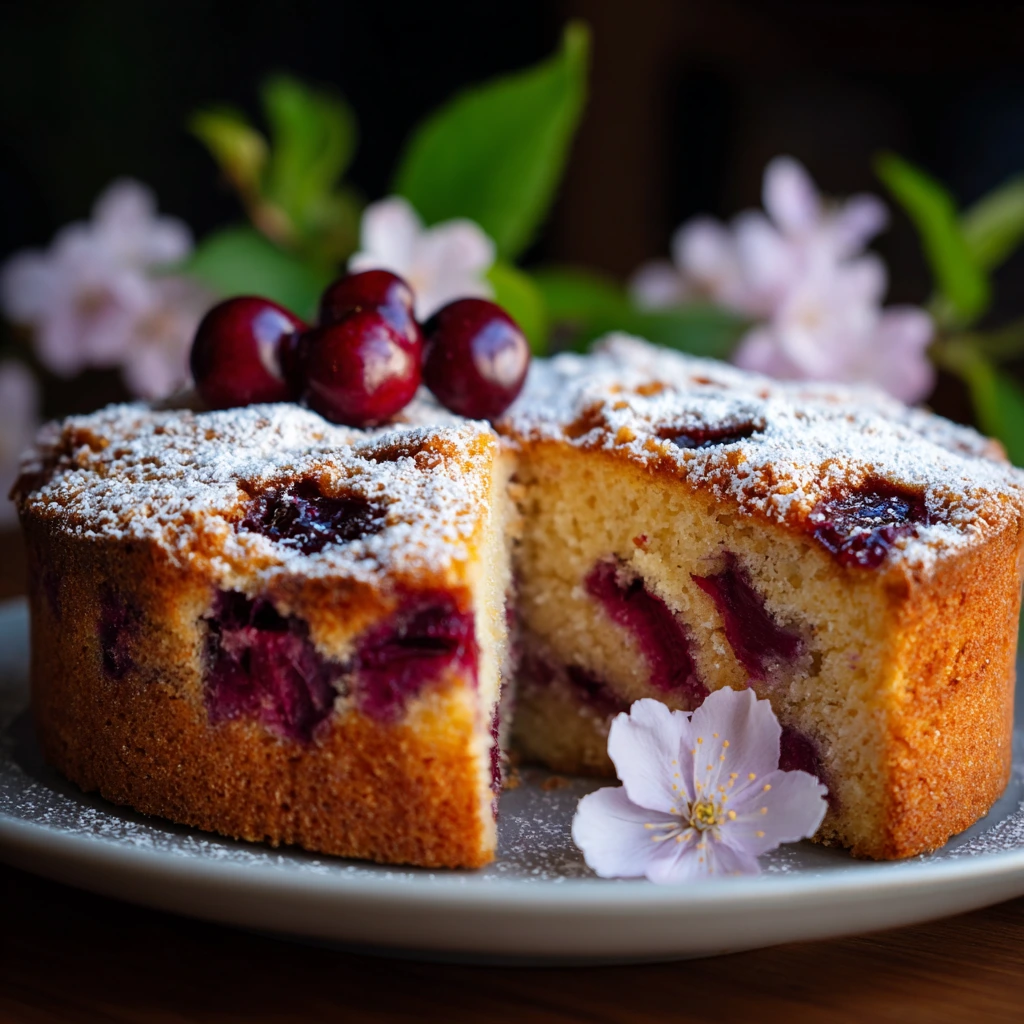
Easy Plum Cake: 7 Simple Steps to a Delicious Homemade Dessert
Have you ever found yourself in a frantic search for a dessert that’s both quick to make and delightfully scrumptious? What if I told you that one of the most satisfying homemade desserts—an **Easy Plum Cake**—can be made in just seven simple steps? Many bakers, whether beginners or seasoned pros, often overlook this gem because they assume it requires complex techniques or uncommon ingredients. However, this Easy Plum Cake redefines the notion of hassle-free baking, offering you a treat that is not just simple but memorable!
What makes this recipe stand out? Its rich flavors meld beautifully with the sweet, vivid taste of fresh plums, creating a cake that’s perfect for any occasion. Plus, it’s easy enough for anyone to master. Let’s delve into this delectable recipe!
Ingredients List
To whip up a sensational Easy Plum Cake, gather the following ingredients:
- Plums: 3-4 medium-sized, pitted and sliced. For a twist, you might consider using peaches or nectarines.
- Flour: 2 cups of all-purpose flour. Whole wheat flour can be a great alternative for added nutritional benefits.
- Sugar: 1 cup of granulated sugar. If you’re looking for a healthier option, coconut sugar or honey can substitute well.
- Butter: ½ cup unsalted butter, softened. You may also use coconut oil or unsalted margarine.
- Eggs: 2 large eggs. For a vegan version, flax eggs work splendidly.
- Baking Powder: 2 tsp to help your cake rise, or consider using baking soda mixed with vinegar for a natural alternative.
- Salt: A pinch to enhance flavors.
- Vanilla Extract: 1 tsp for that aromatic enhancement. Almond extract is a lovely alternative!
Timing
Allow yourself about 90 minutes to prepare and bake your Easy Plum Cake. That’s roughly 20% less time than many traditional cake recipes, making it a great choice for spontaneous baking sessions!
- Preparation time: 15 minutes
- Cooking time: 45 minutes
- Cooling time: 30 minutes
Step-by-Step Instructions
Step 1: Preheat the Oven
Preheat your oven to 350°F (175°C). Proper heat ensures even baking, so don’t skip this step!
Step 2: Prepare the Baking Pan
Grease a 9-inch round or square baking dish with butter or line it with parchment paper to ensure easy removal later.
Step 3: Mix Wet Ingredients
In a mixing bowl, cream together the softened butter and sugar until it’s light and fluffy. This process takes about 3-4 minutes. Add in the eggs (or flax eggs) and vanilla extract, mixing until well combined.
Step 4: Combine Dry Ingredients
In another bowl, whisk together the flour, baking powder, and salt. Gradually add the dry mixture to the wet ingredients, stirring until fully incorporated. Don’t overmix; a few lumps are perfectly okay!
Step 5: Fold in the Plums
Gently fold the sliced plums into the batter. Their sweetness will meld beautifully during baking, enhancing the overall flavor of your Easy Plum Cake.
Step 6: Pour and Bake
Pour the batter into the prepared baking dish. Bake for 45 minutes, or until a toothpick inserted into the center comes out clean.
Step 7: Cool and Serve
Once baked, let your cake cool in the pan for about 10 minutes, then transfer it to a wire rack to cool completely before slicing. An optional dusting of powdered sugar on top adds an elegant touch!
Nutritional Information
A typical slice (1/12 of the cake) contains approximately:
- Calories: 180
- Fat: 7g
- Carbohydrates: 28g
- Protein: 2g
It’s a light dessert that won’t ruin your daily dietary goals while pleasing your sweet tooth!
Healthier Alternatives for the Recipe
Want to make your Easy Plum Cake a bit healthier? Consider these modifications:
- Swap refined sugar for honey or maple syrup for natural sweetness.
- Use Greek yogurt in place of butter to reduce fat while maintaining moisture.
- Integrate nuts like walnuts or almonds for added texture and omega-3 fatty acids.
Serving Suggestions
Elevate your Easy Plum Cake with these creative serving ideas:
- Serve warm with a scoop of vanilla ice cream for a delightful contrast in temperature.
- Pair it with fresh whipped cream and a sprinkle of cinnamon for added flavor.
- Garnish with mint leaves or edible flowers for a visually stunning presentation.
Common Mistakes to Avoid
- Overmixing the batter: This may lead to a dense cake. Mix until just combined.
- Skipping the cooling stage: Ensure your cake cools before slicing to maintain its shape and texture.
- Underbaking: Always do the toothpick test to avoid a wet, soggy center.
Storing Tips for the Recipe
To maintain the freshness of your Easy Plum Cake:
- Store leftovers in an airtight container at room temperature for up to 3 days.
- For longer storage, refrigerate and consume within a week.
- Freeze slices for up to 2 months; simply wrap them in plastic wrap before placing them in a freezer bag.
Conclusion
In conclusion, mastering the Easy Plum Cake not only satisfies your cravings for homemade sweetness but does so in an effortlessly approachable manner. With just seven simple steps and some helpful baking tips, you’ll create a delightful dessert worthy of any celebration.
So, why not try your hand at this nifty recipe today? Share your experiences, thoughts, or any twists you’ve made to the recipe in the comments below! If you’d love to explore more deliciousness, check out some related posts.
FAQs
- Can I use frozen plums for this recipe?
Yes, just ensure they are thawed and drained before adding! - Is there a gluten-free version of this cake?
You can substitute the flour with a gluten-free all-purpose mix to enjoy this cake sans gluten. - What if I don’t like plums?
Feel free to substitute with your favorite fruits like blueberries or diced apples. - Can I double the recipe?
Absolutely! Just make sure to adjust the baking time as needed, as larger cakes may require longer cooking. - What’s the best way to slice the cake?
Use a sharp knife, and ensure the cake is completely cooled to get clean slices. - Are there any good toppings for the cake?
A drizzle of glaze or a scattering of nuts adds lovely finishes!
Happy baking, everyone! Enjoy your Easy Plum Cake with loved ones—your new favorite homemade treat awaits!


